

How To Access Paint Bucket Tool In Photoshop
Adobe Photoshop is a raster-based image editing software. Information technology is adult by Adobe.Inc and available for both macOS and Windows operating systems. You tin can use Photoshop to create or edit images, posters, banners, logos, invitation cards, and various types of graphic designing work. It provides various tools for designing and editing and the paint bucket tool and gradient tool are i of them.
Paint Saucepan Tool
The pigment bucket tool, every bit the name suggests is used to paint a selected area or white area with a color or pattern with a similar colour or is used to paint an uncolored area with a color or pattern. Really, nosotros all have used the pigment bucket tool in diverse other applications, like MS Paint and many such others. The tool here has the aforementioned basic properties like that of MS Paint with some more added controls and functions. The paint bucket tool tin be direct found on the tool palette underneath the castor tool and the icon of the paint bucket tool is:

How to use a paint bucket tool?
The following steps testify how to use the pigment saucepan tool in Photoshop:
Step 1: Open Adobe Photoshop and create a new certificate every bit shown below:
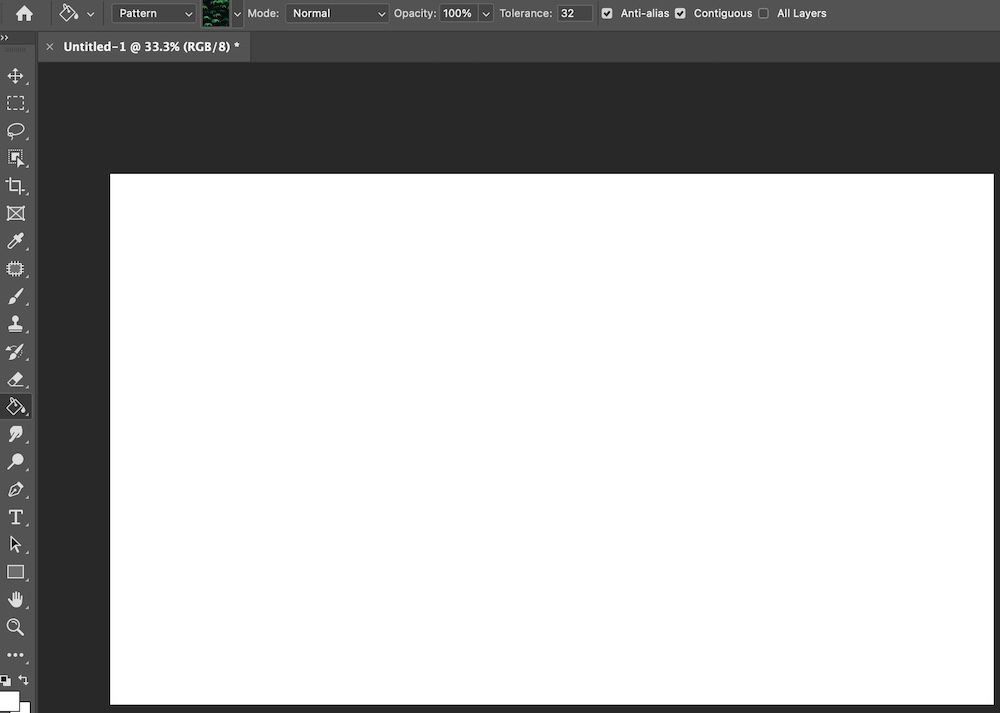
Stride ii: Then select the pigment saucepan tool from the tool palette.
Stride 3: Now, by default, the foreground and the background colors are black and white respectively. At present let's choose a color from the color palette (let's say Blue). If we now click on the document anywhere, the whole canvas gets painted in blue as shown beneath:

Thus, we tin run across the basic usage of the pigment saucepan tool. It can also exist used to paint a particular selection or white space. Now, what if the paradigm is something similar this as given below:

Now hither we want to colour the cross with greenish color. How can we exercise information technology using the paint bucket tool?
Simply, we will select the green color and click on the white region and will run across this:

Then from these examples, nosotros conclude that the office of the paint bucket tool is – It adds color to the selected pixel and all the adjoining pixels around information technology.
Options of Paint Bucket Tool
Now, when you click on the paint saucepan tool icon we can see an option bar with numerous different options.

Now, we volition discuss all the options ane by one in item:
1. Foreground
This option is selected past default. The purpose of this pick is to color the selected area with the current foreground colour.

2. Pattern
If this option, the tool fills the pattern in the selected surface area. When yous select this tool, y'all will also discover that the design pick gets activated from where we can select the pattern.

When you click on the design section, the pattern library will open with different patterns from where you can select the desired one. Let's fill up a selection with the blueprint using Paint Bucket Tool.

Stride 1: Starting time create a selection using whatsoever of your ain desired selection tools.
Step 2: And so choose the paint bucket tool from the tool palette and select pattern.
Step 3: Choose your desired pattern.
Pace four: Utilize information technology to the option area and y'all will get a result like this:

3. Style
This is the blending option that is present in many other colors and brush tools. By default way is set to normal. In that location are total 30 blending options bachelor, like Normal, dissolve, behind, clear, darken, Multiply, color burn, linear burn, darker color, Lighten, Screen, Color contrivance, linear dodge, lighter color, Overlay, soft lite, hard light, vivid low-cal, linear calorie-free, Pin light, hard mix, Difference, Exclusion, Subtract, Divide, Hue, Saturation, color, luminosity. And so, nosotros can choose our blending modes according to our needs.

4. Opacity
Opacity tells u.s.a. how much visible the color or pattern volition be made past the paint saucepan tool. It has a value in the range of 0-100%. By default, the opacity is set to 100%. If the opacity is set at 0, nosotros cannot see anything.

v. Tolerance
Allow'southward understand it with the aid of the example:

In the get-go picture, nosotros accept set the tolerance to thirty. In the second picture, we have set the tolerance to ninety. As you can see, the more the tolerance, the more is the spread of the color is.

six. Anti-Allonym
It creates a smooth selection. If nosotros want a smooth filling of color or pattern in our selection, we should keep the anti-alias checked. By default, anti-allonym is checked.

vii. Contiguous
If this option is checked, the more pixels with similar colors will be colored by the paint bucket tool. Therefore, this tool too shows the spread of the color. By default, face-to-face is checked.

Gradient Tool
The gradient tool, as the proper noun suggests, fills the slope to the selected region or the whole certificate. Now, what is the meaning of gradient? A gradient is a change of 1 color to another in a subtle way. Gradient Tool is used in various types of editing. It tin can as well be used to create some great background for some digital portraits and also for various other purposes. With the help of the blending modes, they become more than powerful. The gradient tool can exist straight found on the tool palette and the icon of the gradient tool is:

Below are given a few gradients:

In the offset box, we can encounter orange color changes to yellow, and, in the second box, nosotros can run into violet color changes to orange. These are chosen color gradients. In Photoshop we can employ gradients to any pick or on the whole certificate using the gradient tool.
How to use Gradient Tool?
The following steps show how to use the gradient tool in Photoshop:
Footstep 1: Open Adobe Photoshop and create a new document as shown beneath:
Footstep ii: Select the gradient tool option from the Tool palette.
Step 3: This is the slope library as provided past default in Photoshop. From here, cull a detail slope according to your selection.

Fig2.3 : Gradient Library
Pace four: Now apply it by dragging the cursor over the screen. You will get something like this. Hither I have called the orange to bluish gradient.

Fig 2.4: Applying Gradient
Options of Gradient Tool
Now, when you click on the pigment bucket tool icon we tin can see an option bar with numerous different options.

Now we will discuss all the options one by ane in detail:
1. Gradient library
The first selection (i.e the left-most one) is the Gradient library which we take already discussed. This stores both the default and the custom gradient created by the user. To apply a slope, simply cull it and utilise as shown in a higher place.

two. Linear Gradient
The linear gradient, shades from the starting bespeak to the ending point in a straight line.

3. Radial Slope
The radial gradient, shades from the starting point to the ending point in a circular manner.

4. Athwart Gradient
The athwart slope, shades in a counter clockwise way from the starting point to the ending point.

5. Reflected Slope
The reflected gradient applies a mirror to the linear gradient.

half dozen. Diamond Gradient
The diamond gradient, shades from the middle to the outermost bespeak in a diamond shaped manner.

seven. Mode
Information technology is the blending option. Past default mode is set to normal. There are total 30 blending options bachelor. and then you can select according to your requirements.

viii. Opacity
It has a value in between the range of 0-100%. It determines the visibility of the gradient on the certificate.

Let's understand this with the help of an example:

Below there are ii boxes filled with the orange to blue slope. The left box has an opacity of 45% and the right i has an opacity of 100%. We see the left one is less visible while the right one is completely visible.
9. Reverse
This choice reverses the direction of the gradient. By default, information technology is unchecked.

Permit'southward understand this with the help of an case:

In the to a higher place figure, the left box was filled with the (orange to yellow) gradient with the opposite option unchecked, and the right box was filled with the same gradient merely with the opposite choice checked. Y'all can see that the direction of the gradient changes in both boxes.
ten. Dither
This option adds smoothness to the color transition in the gradient. It is by default kept checked by Photoshop and also recommended to continue it checked. This choice removes color banding which occurs in some gradients.


How To Access Paint Bucket Tool In Photoshop,
Source: https://www.geeksforgeeks.org/how-to-use-gradient-and-paint-bucket-tool-in-photoshop/
Posted by: jacobsyoublive.blogspot.com

0 Response to "How To Access Paint Bucket Tool In Photoshop"
Post a Comment